I find it awesome 'cause I get to play with new toys a lot . :) Thank you, Michelle!
She send me a Diamond Burr set a while back and I thought it was about time I made a tutorial for it. Normally, the diamond burr pieces are used for engraving in glass or ceramics. I'm going to use 'em in plaster . I have a love/hate relationship with plaster. As a ceramicist it's impossible to avoid plaster as it just makes your life so much easier. So I've learned to live & work with it.
Here is what you need:
plaster, water, a container for making the plaster, clay,
polymer clay, a diamond burr set, a pencil, a dry paintbrush, plastic.
plaster, water, a container for making the plaster, clay,
polymer clay, a diamond burr set, a pencil, a dry paintbrush, plastic.
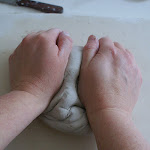
 Make domed shapes with clay and make
sure they are as smooth as possible.
 Built a little wall around the shapes with clay so you can poor plaster in it.
Make plaster and poor it over the domes. Let it set and dry for a few days.
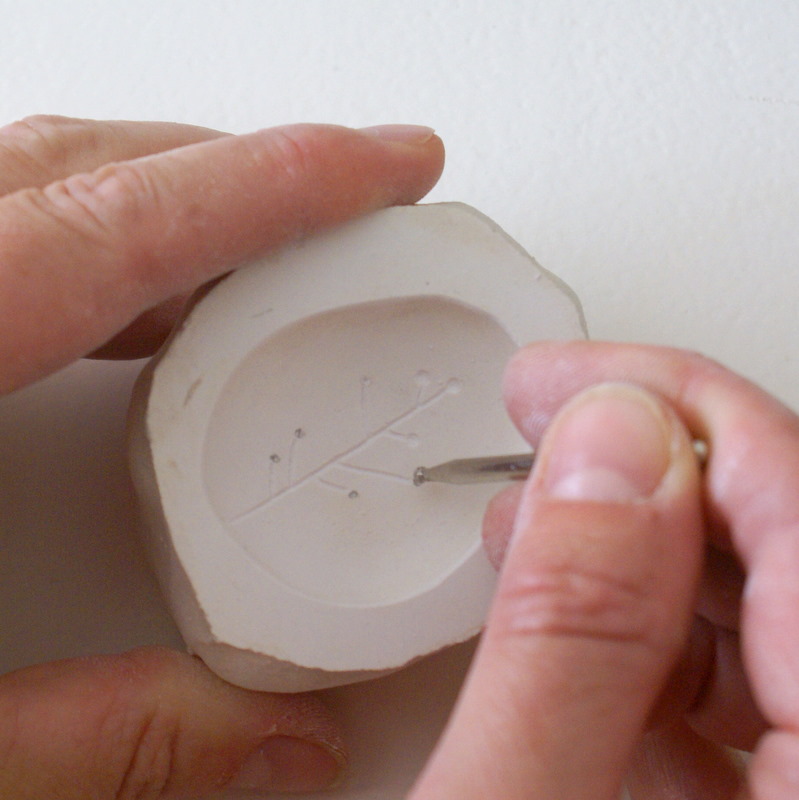
 When the moulds are dry, sand the sides a little bit so that it feels smooth.
 Draw a little something in the mould with a pencil.
 Engrave the lines with the diamond burrs and
 use a round shaped burr to engrave the little dots.
Because the set has so many different burrs it's
ideal to use for engraving in plaster as there is always
a perfect one to use for the thing you want to engrave.
 When it's done, wipe excess plaster away with a paintbrush.
 Then take a piece of polymer clay and press it into the mould.
 Take another piece of polymer clay to take the piece out of the mould.
 If you don't like the result, you can still adjust
the engraving until your satisfied.
Fire the piece of polymer clay and glue a brooch pin or a ring on the back.
 I use this technique for my clay and porcelain work. I love engraving in plaster and you can get really fine details with diamond burrs. Try it, you'll be amazed at the opportunities it will bring you! :)