Showing posts with label totally tutorials. Show all posts

Thursday, January 5, 2012

How to recycle clay?

I've been playing with porcelain the past few days and then a lot of dried clay gets chucked into a little bowl. As long as the clay is not fired, you can still use it, even though it's dry.From the bowl, it ends up into a plastic container and I poor water over it so it gets all soggy and soft again.
Of course, in this condition, the clay is too soft so from the container it ends up on a plaster plaque that sucks the water out of the clay. I spread it out with a credit card and then scrape it off again.
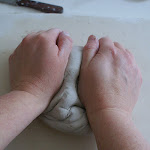
When it feels all smooth again, I knead it thoroughly with my hands so that there is no air in between.
And now it's ready to use again. It's a pain to recycle clay as the process takes some time and patience but it always feels great to recycle. :)

Sunday, March 20, 2011

How to make recycled decorative tape?

I love Japanese masking tape and the way it's used for wrapping gifts and decorating. It is fun to make your own tape with designs that you specifically want to use for a certain package. It's a great way to recycle some paper scraps that you kept around for god knows what reason...

Here is what you need:
Doublesided tape, cutting mat, cutting knife,
a variety of magazines, folders, newspapers, wrapping paper,...
Cut out a piece of patterned paper from a magazine.
Turn it around and stick a piece of doublesided tape on it.
Cut along the sides of the doublesided tape with your cutting knife.
With a paper punch, you can also punch figures out of the strip.
Take away the paper from the tape and stick it onto a giftbox.
Tada! How easy it is to pimp your packages with your recycled decorative tape!Update:
I just now see that Pascale from between the lines did a tuto on diy Japanese tape too not very long ago. I completely missed it but it's really rad! Check it out here!

Sunday, January 30, 2011

How to make a snowglobe?

It's been a while since my last tutorial. Snowglobes are cool for any occasion but I thought it would be cool to make a valentine themed one.

Here is what you need:
A jar, Fimo, glitters, toothpick, modelling tool,
two component glue and cookie cutters (not on the picture)

Make the Fimo soft by kneading it.
Then make a shape you like, I'm making a bone...
Then knead the red Fimo for the heart.
Place it flat between 2 wooden sticks and then roll over it with a rolling pin.
Press the cookie cutter in there.
Now you have a heart.
Of course you can also shape it yourself but I was being lazy.

Then break a small part of a toothpick and make a hole in the heart and the bone.
Use the toothpick to connect the both.
Bake it in a preheated oven for 30 minutes at 110°C or 265 °F.
Apply a dot of two-component glue to the inside of the lid of the jar.
Stick the bone with the heart on there.
Fill the jar with water and add glitters.
If you have glycerin, add a few drops to makes the glitters move about better

Twist the lid on the jar and close firmly.
Now you can shake your snowglobe.
Add a 'I love you to the bones' message for your loved one and you're done!

Sunday, August 15, 2010

How to make a polymer clay brooch or ring?

Through Totally Tutorials, I've 'met' Michelle from EviesToolEmporium and she has been sending me supplies in exchange for a tutorial.
I find it awesome 'cause I get to play with new toys a lot . :) Thank you, Michelle!
She send me a Diamond Burr set a while back and I thought it was about time I made a tutorial for it. Normally, the diamond burr pieces are used for engraving in glass or ceramics. I'm going to use 'em in plaster . I have a love/hate relationship with plaster. As a ceramicist it's impossible to avoid plaster as it just makes your life so much easier. So I've learned to live & work with it.

Here is what you need:
plaster, water, a container for making the plaster, clay,
polymer clay, a diamond burr set, a pencil, a dry paintbrush, plastic.
Make domed shapes with clay and make
sure they are as smooth as possible.

Built a little wall around the shapes with clay so you can poor plaster in it.
Make plaster and poor it over the domes. Let it set and dry for a few days.
When the moulds are dry, sand the sides a little bit so that it feels smooth.
Draw a little something in the mould with a pencil.
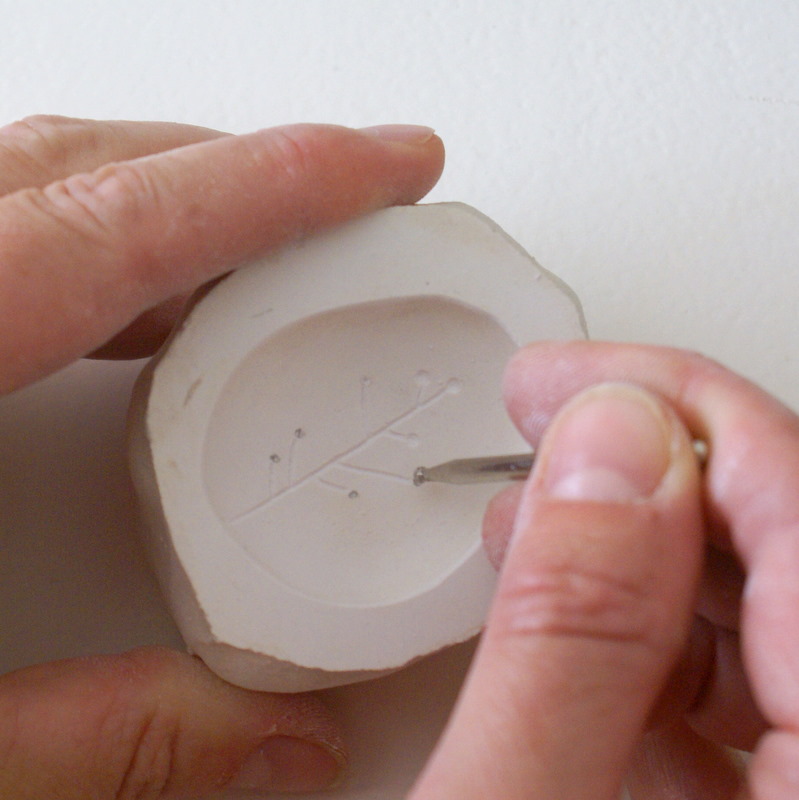
Engrave the lines with the diamond burrs and
use a round shaped burr to engrave the little dots.
Because the set has so many different burrs it's
ideal to use for engraving in plaster as there is always
a perfect one to use for the thing you want to engrave.
When it's done, wipe excess plaster away with a paintbrush.
Then take a piece of polymer clay and press it into the mould.
Take another piece of polymer clay to take the piece out of the mould.
If you don't like the result, you can still adjust
the engraving until your satisfied.

Fire the piece of polymer clay and glue a brooch pin or a ring on the back.
I use this technique for my clay and porcelain work. I love engraving in plaster and you can get really fine details with diamond burrs. Try it, you'll be amazed at the opportunities it will bring you! :)