Wednesday, December 9, 2009

The secret project... work in progress

Some time ago, my secret partner send me some plant matter. My heart skipped a beat when I saw it & I made a mould of it right away. A bit silly to get excited about some plant matter?
Not at all, when your heart is jippetyjappety happy because of things simple and beautiful.
This texture is just divine...
I used it to make little lichen's out of it.
And after I fire them, I will send them to my secret partner so she can see if they can be used for something.

This will also be the last teasing-post concerning the secret project. And your last chance to send me your guess with who I'm collaborating. Last week I saw the first prototype of a finished product and yip, another skipped heartbeat and instant love...
We can't wait for the big reveal next week & we hope you have patience for one more week...

To know the idea behind the secret project, go read the first blogpost here or click on the label 'the secret project' to see all the posts about it.
Can't wait to receive your guesses but think about it carefully 'cause you can only guess once! :)
You can send your guess to mitsy@artmind.eu and can not change your guess so think about it carefully...

Tuesday, December 8, 2009

Flickr Favorites

1. Can you give me sanctuary?, 2. how long how long have i been down? day 90, 3. 136.365 ~ .the escape., 4. Koinobori

Whenever I see amazing edited pictures like these on Flickr, I secretly wish that I knew how to make them. I think that pitures like these must take ages to make and edit & I just admire all the artists who make them. I really enjoy looking at this art: a feast for the eyes and heart!

Don't forget to head over and have a peek at my favorite mosaic from last week! :)

If you like to play this week, make your mosaic and add a link to your blogpost (NOT your blog please) or Flickr in Mister Linky (click on the button below and fill in your name with the link to your blogpost or Flickr picture).
I'll pop over to have a look at yours. Can't wait to see your creations and find new favorites! :)

Monday, December 7, 2009

European Streetteam Challenge

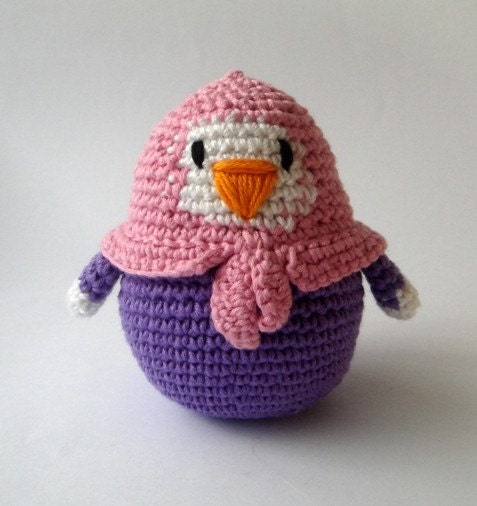
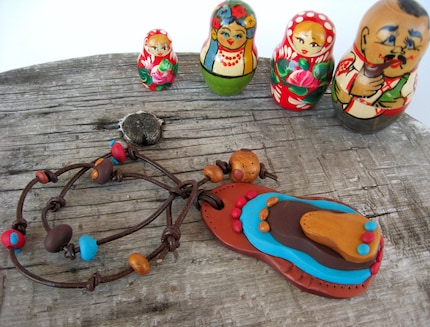
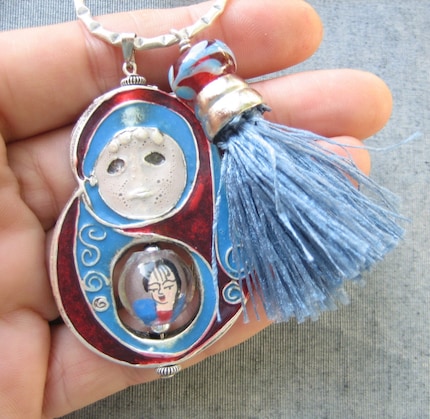
What a fun day this is today! I just got word that my singing birds that I made for this weeks challenge won the challenge! Woohoo! Thanks so much for picking them out of all the amazing entries dear Anna! That basicly means that I can be the boss for this weeks challenge and can pick a theme of my choice. I'd love to show you some pics to get inspired... by Babushka's! :)
I suppose the theme is no surprise for you...

The centerpiece of this mosaic is work from Claudia aka MundoGominola.
I have been thinking about her recently. I 'met' her on the European Streetteam
and unfortunately she passed away last December due to a rare heart condition.
Just a little remembrance of this beautiful person... you are missed sweet Claudia!
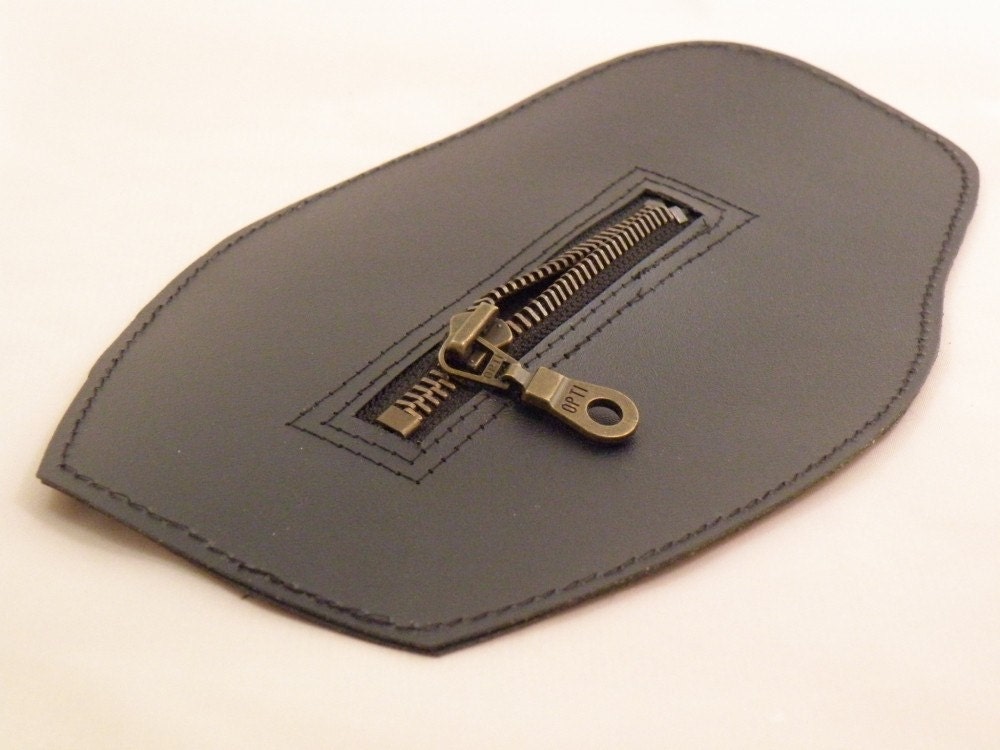
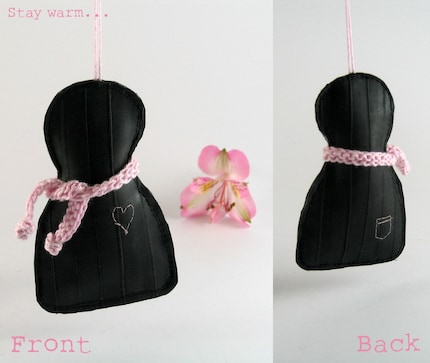
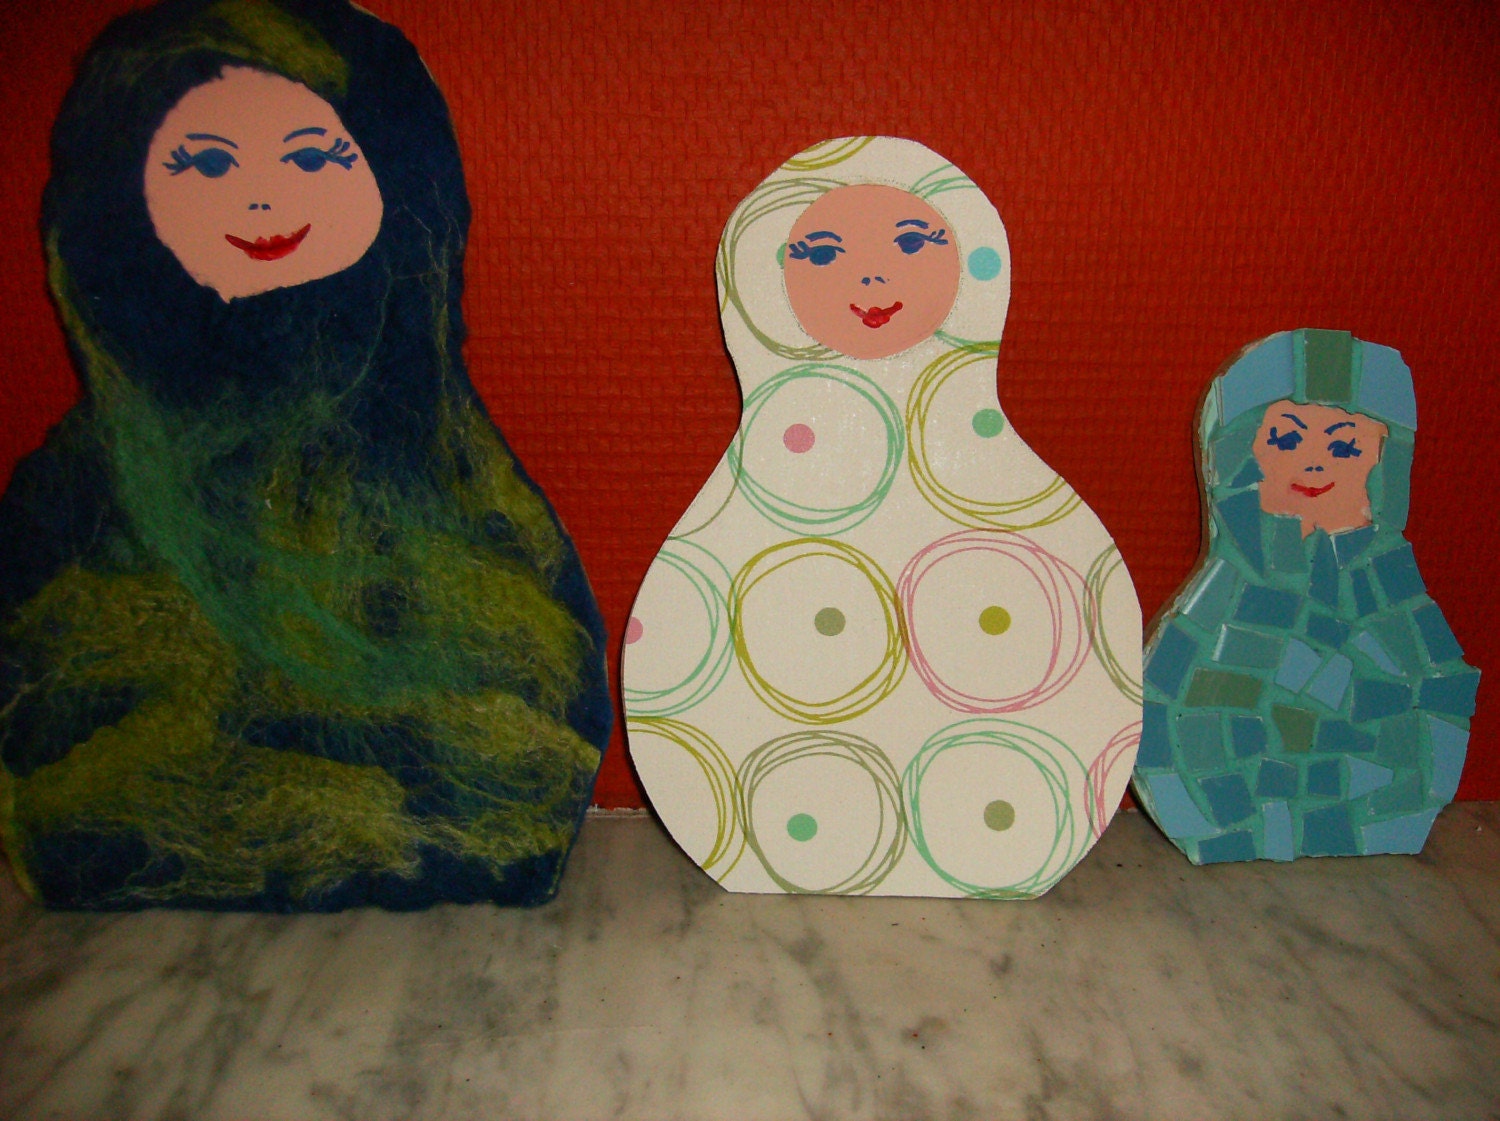
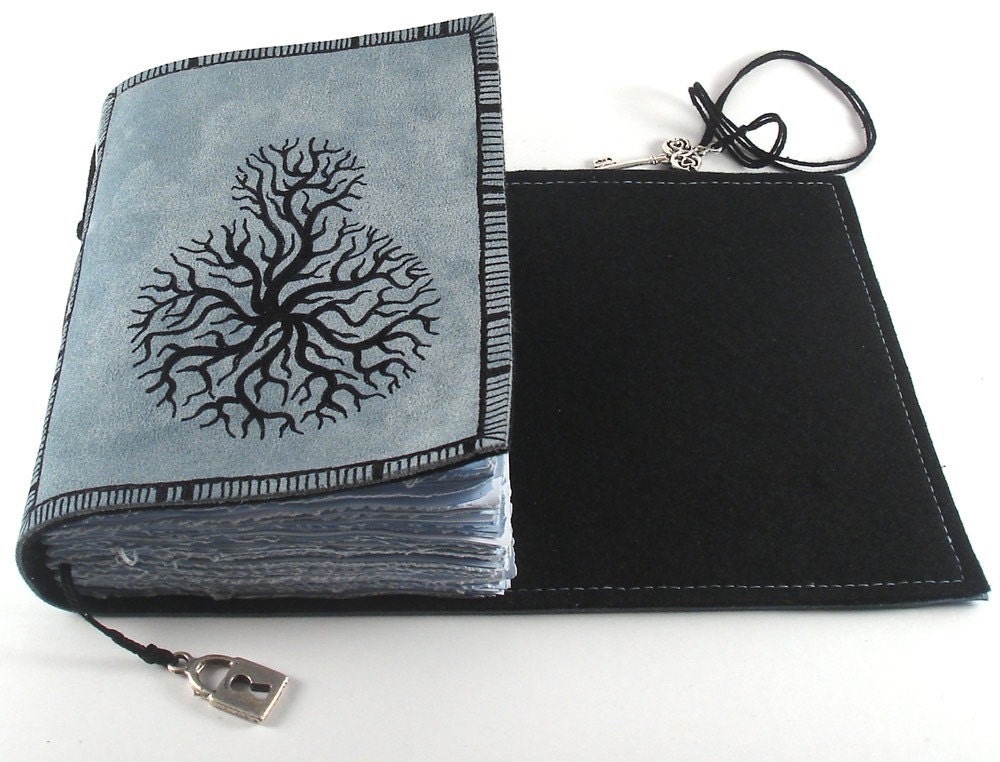
1. HAND PAINTED - Matryoshkas family, 2. Small babuschka, 3. ohrringe :::bonjour russland, 4. Matryoshka coasters - decorative objects, 5. Matryoshka ornaments, 6. P1010801, 7. Gingerbread House, 8. work in progress, 9. Moleskine's notebook cover: Matryoshkas, 10. fru muri, 11. Frida under water, 12. big russian doll & russian doll lavender scented sachets, 13. Piquete de mamushkas14. Not available15. Not available16. Not available

Can't wait to see all the entries! Make it hard on me to choose my favorite! :)
You can work with lots of colors, russian themed, shapes, drawings, bags, jewelry... whatever resembles of a babushka will do!
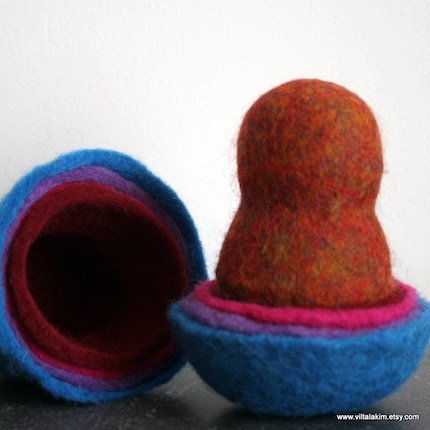
The winner of this challenge are the wetfelted Babushka dolls by Viltalakim. BIG congrats, Kim! :)

Challenge entry

I could not be happier with this weeks challenge theme chosen by DeerLola on the European Streetteam. It's been ages since I participated in the European Streetteam challenges. The challenges usually only last a week and sometimes that is just too short to finalize a ceramic project.
This week's challenge was called 'Ode to Anna' aka AnnaRubyKing or LilaRubyKing.
Read more about it on DeerLola's blog:
I've been admiring Anna's work from the first time I saw it and above that, Anna is just a super lovely person all around so it was such a pleasure to make something inspired by her work.

These birds make me smile and even though that they can't sing, they are still called singing birds because each and every one of them is inspired by the 2D birds of AnnaRubyKing.
And I have also made a few to use in a moss terrarium.And I have another idea in mind with these birds but they need some more fine tuning. I might have a new production line in my ceramic factory here! They are available in my Etsy shop.

Woot woot! Thank you so much everyone who casted their vote on the Etsy voter!
My ceramic set has been chosen by the Etsy community as high-end luxury item for the holidays. It has been published in the Storque, Etsy's handmade blog, today. One click on the picture below will bring you right to it! :) I'm thrilled about this - thanks for so much love! :)

Sunday, December 6, 2009

How to make a paper doily angel & garland?

The other day I was looking at the pile of paper doilies and thought I could make some fun angels from them & string some doilies on a nylon thread to put in front of our window. A bit of holiday decoration without it being too traditional.
Here is what you need: paper doilies, a wooden bead, cotton thread, thin metal thread, scissors, doublesided tape and nylon thread.
Fold a paper doily double.
Make a cut through the doily on the side.
Make a cut through on the other side too.
Cut away part of the doily for the arms. Cut it a tiny little bit towards the middle on both sides.
Cut a piece of doublesided tape and attach it to one 'arm'.
Fold the part with the doublesides tape over the other part.
Do the same on the other side and you'll have this.
Cut some cotton thread about 8/10cm long.
Cut a piece of thin metal thread.
Make a loop on the metal thread and twist it a few times.
Put the cotton thread in between the 2 metal threads & twist it again.
String a wooden bead on the metal thread.
String the doily on the metal thread.
Twist around the metal thread a few times so
that the upper part can't come loose.

Cut a piece of doublesided tape.
Tape it in between the doily.
Press firmly.
Draw a little face on the wooden bead.
Your angel is finished.
Cut doilies towards the middle.
Make a fold between parts.
String them on a nylon thread together with the doliy angel.
Hang it in front of your window.

Saturday, December 5, 2009

Granny squares in progress

Don't you love to see a stack of granny squares grow? I do!
I managed to get 2 x 9 squares done this week.Although I'd like to cheat sometimes... and you all know how much I detest sewing in the ends.
I can't wait to have more so I can stack them by color! :)